Wednesday, 10 September 2025
The Hollow - Old West Re-skin
Sunday, 7 September 2025
The Hollow Re-Skin - Burial Scaffold
For this, I just used some plastic rod that I had & broke it up into various lengths, this was then scored with a razor saw to get a wood effect & glued it all together.
I added some lengths of Cotton to look like it was lashed together & a skull & feathers to make to make them a bit more interesting.
They were painted with the usual old wood recipe that I used on the Ramshackle Church
Sunday, 27 April 2025
Terrain for pulp vs Alley’s The Hollow Scenario - Part 3, The End
This is the Final part of my wittering on about putting together a board for The Hollow Scenario.
The last three plot points were quite easy to sort out:
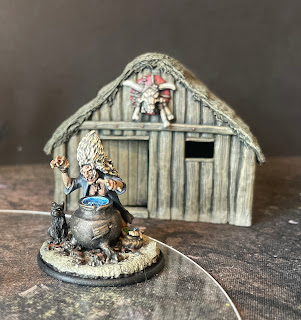
For Grandmother Brunt I’m using the Witch miniature from Gripping Beast, I've already got her painted, also there's a log Cabin that I've already painted up as her house.
Egon Van Ripper plot point will be a Silver Bayonet Canada Harvestman Agent (another previously painted miniature) from the official Northstar Miniatures range.
I really like this miniature & I’ve not had chance to use him in a game yet.
For the Gravestone, I used a Citadel one from the old Plastic Skeleton sprues & put some tufts around it, to make it resemble being hidden.
And of course, there’s the Big Bad, the Headless Horseman. I am going to use the converted Front Rank Archduke Charles figure that I converted for The Silver Bayonet scenario The Headless Rider.
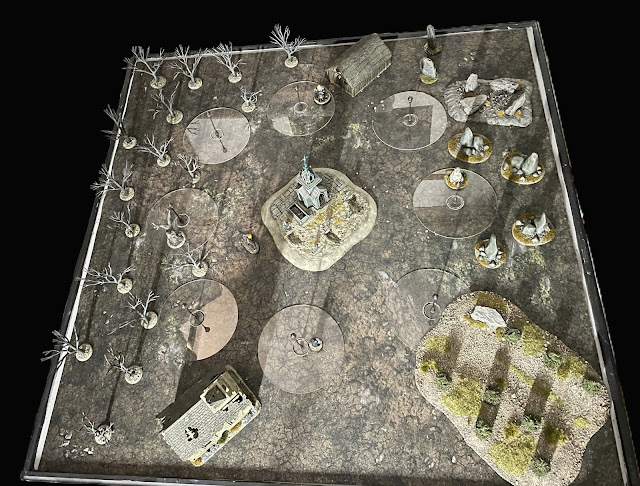
I’m also using some other bits & pieces of scenery, some of it scratch built & some bought (even some Snapdragon stuff!!) such as rocks & a patch of rough ground.
Below is a couple of pictures of the finished board
Sunday, 20 April 2025
Terrain for pulp Alley’s The Hollow Scenario - Part 2
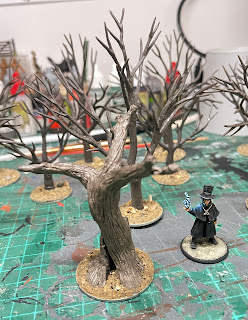
They are plastic with a wire armature inside & come flat, so that they can be bent into shape. There’s quite a lot of mold lines & casting points on them & they are a right pain to clean up, but when they are cleaned & twisted into shape they look pretty good. They were then glued to washers & sand added.
To paint the trees I sprayed them with Halfords Matt black primer & slapped some black Brown over the undercoat.
I added a touch of light green & field grey to the basecoat for the 1st highlight adding various light greys for successive highlights. I probably could have spent longer faffing about cleaning them up & filling gaps, but I really couldn't be bothered!
For the plot points in this scenario there’s a Rock with a name on it, a Tree with some initials on, a Random Bloke, a Granny & a Grave Stone.
To make the rock I used some blue foam & cut it to shape


.jpg)


.jpg)


.jpeg)
